Microgreens: Grow fast, eat young

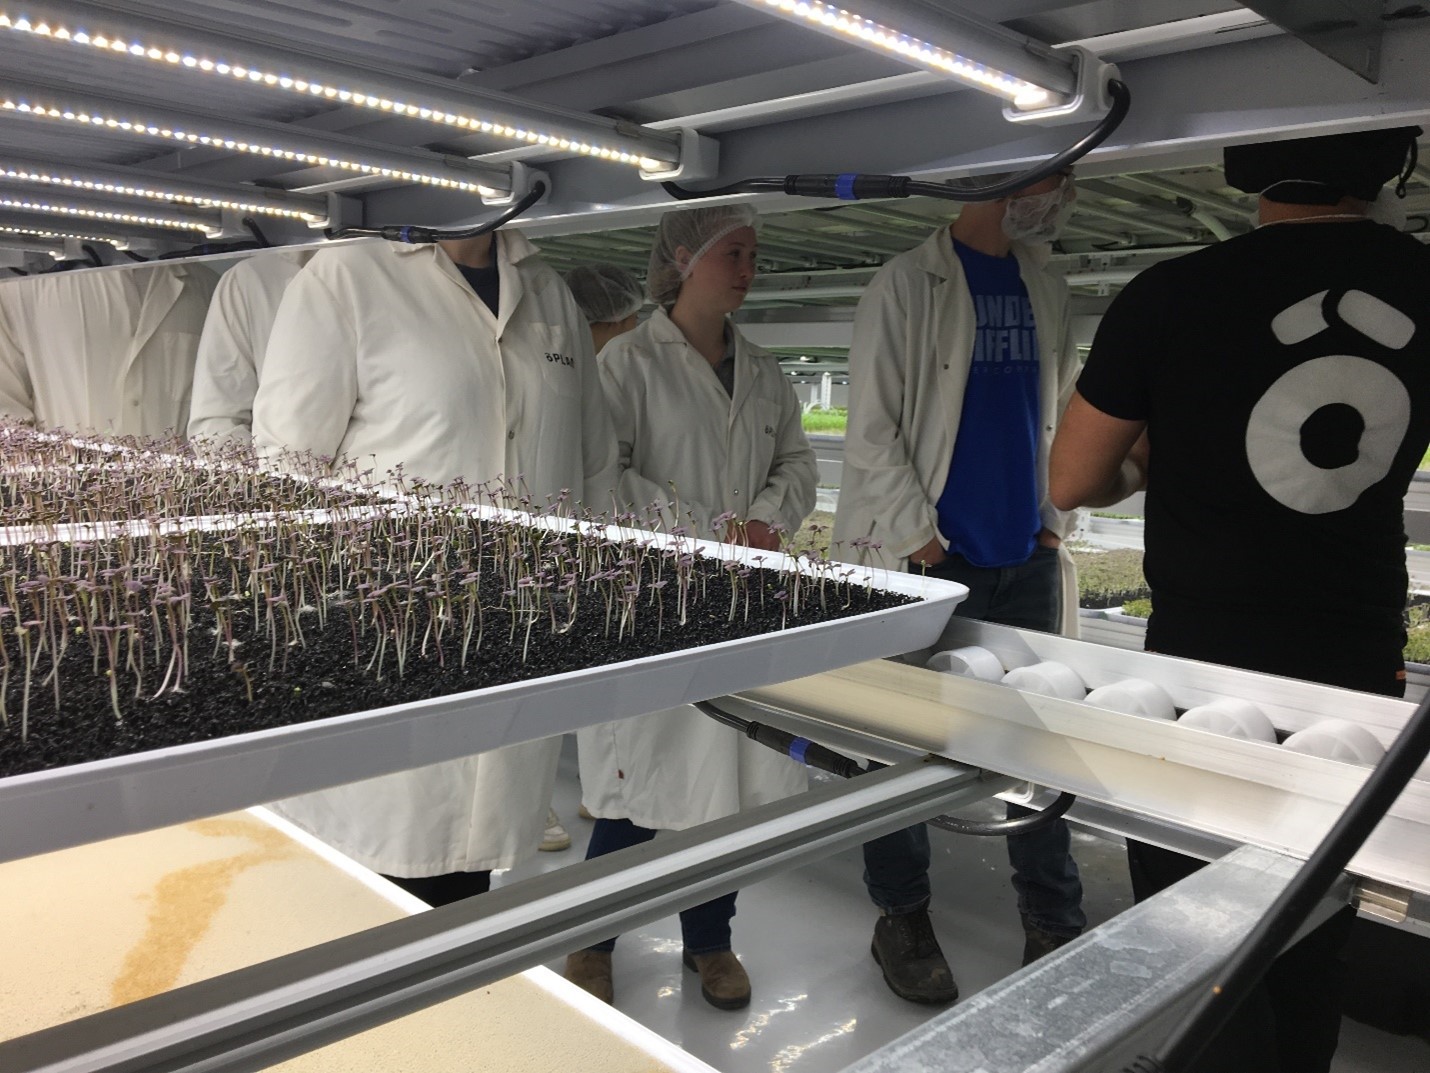
Pictured above: Greenhouse production of sunflower microgreens in biodegradable containers.
By David Wees, agr., Faculty Lecturer, Farm Management & Technology Program and Dept. of Plant Science, FAES
Ah, spring: that time of year when farmers and gardeners can’t wait to plant. Even apartment dwellers want to see some green, but with most of the world’s population now living in urban areas, space to grow may be limited.
If you’re squeezed for space, think small. Microgreens are high-value, nutritious, fast-growing crops—and you can grow them at home.
What are microgreens?
You may have eaten bean sprouts in East Asian cuisine or alfalfa sprouts in a sandwich. Although similar, there are a few important differences between sprouts and microgreens. Sprouts are very pale young seedlings, grown in a week or less without any light. Microgreens, on the other hand, take 10 days to 3 weeks to grow and are always grown in light to give them an attractive green colour. Also, to be botanically correct, microgreens consist of the stem, the cotyledons and the first one or two leaves of a seedling; no roots included as microgreens are cut just above the soil line.
If microgreens are merely young seedlings, why not just eat the seeds, the way we do with rice and corn? In part because microgreens are more digestible: have you ever tried eating dry pea seeds? In part for flavour: sprouted sunflower seeds have a delightful nutty taste. And in part for nutritional value: microgreens contain more pro-vitamin A and vitamin C than unsprouted seeds.
 The internet is teeming with videos and blogs where digital gurus claim you can “get rich quick” by growing microgreens in your basement or garage. This sounds too good to be true, but microgreens are a very valuable commodity. Some local grocery stores show retail prices of $4 to $5 for tiny packages weighing 50 to 100 grams: this works out to prices of $40 to $100 per kilo! Much pricier than lettuce, tomatoes or even steak.
Growing your own microgreens
For the past few years, students at Macdonald Campus have experimented with microgreen production. Are you ready to try growing your own? Here are a few tips.
What to grow
In theory, you can grow any plant with non-toxic leaves (so avoid tomatoes, eggplant and rhubarb) as a microgreen. But the most popular are fast-growing tasty species like radish, red cabbage, cress, broccoli, arugula and sunflowers. Some others to try are dill, basil, corn and kale. Onions and chives are flavourful but grow slowly. Wheat and lentil microgreens grow quickly but are fibrous and taste like grass clippings.
Getting started
Many garden centers and mail-order seed catalogues offer seeds and kits specially designed for growing microgreens. Only use fresh, high-quality untreated seeds. Any shallow, cleanable plastic or glass containers are fine for growing microgreens. You can also try biodegradable containers like pressed cardboard, but these break apart easily and can only be used once.
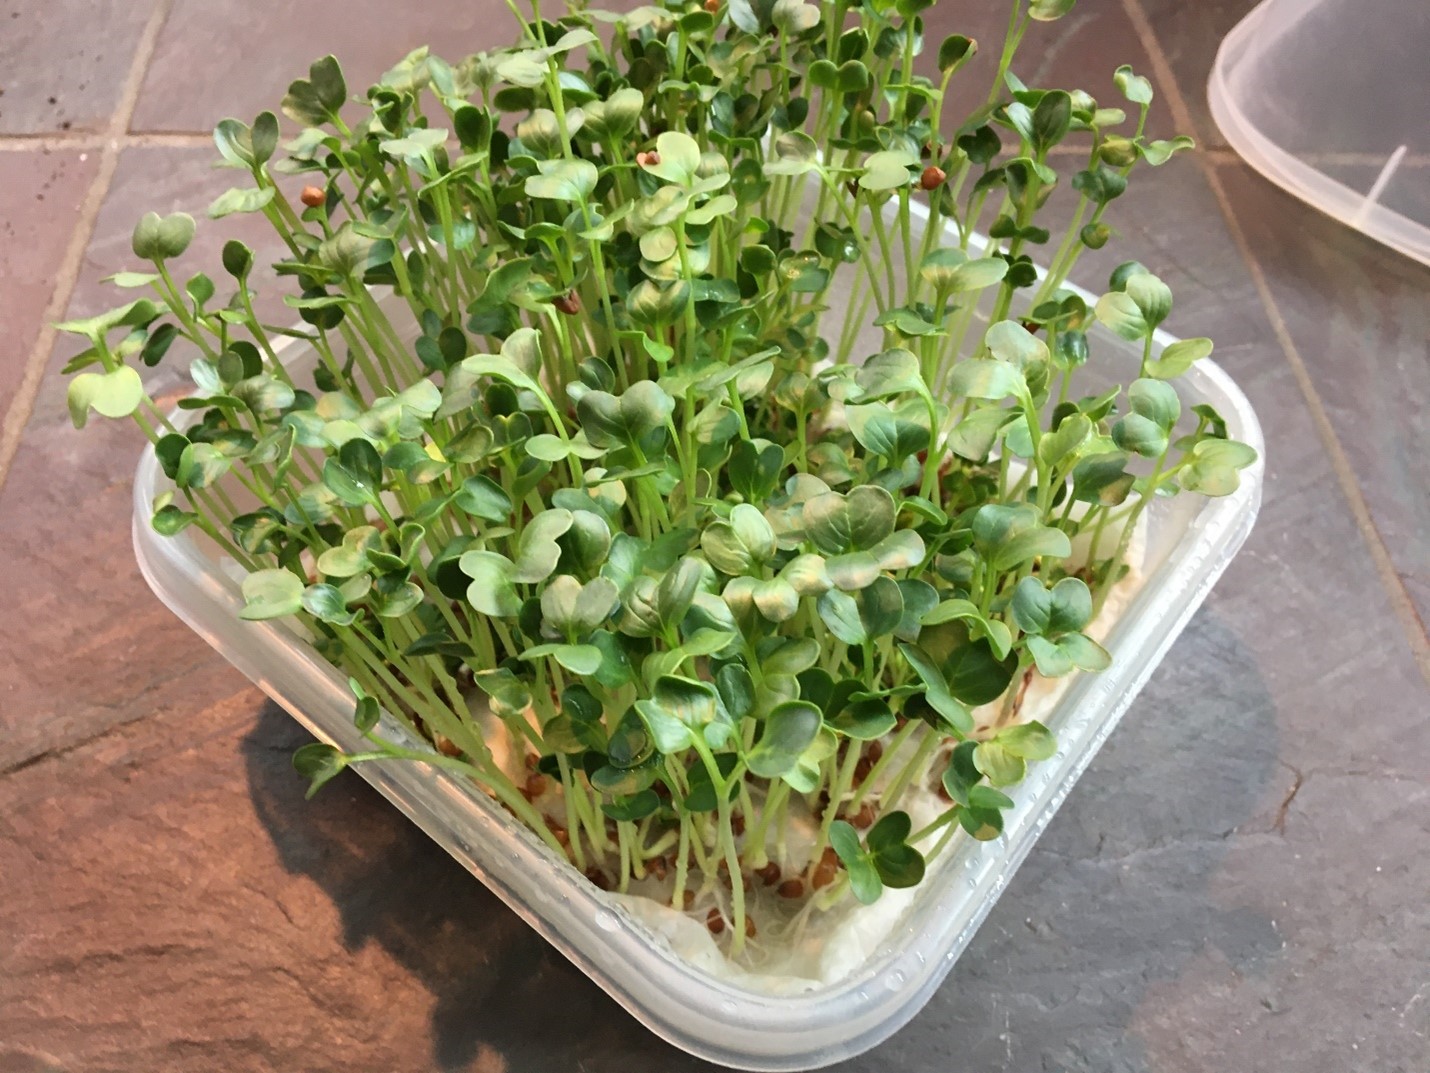 As for soil, well, don’t use any! You’ll be better off with peatmoss, coconut fiber (a.k.a. coco coir), hemp fiber pads, rockwool mats or even thick layers of paper towels. The purpose of the substrate is not so much to supply fertilizers to the seeds but to keep them moist. In fact, no fertilizer is necessary.
Sprinkle the seeds on your chosen substrate at a rate of 1 to 2 seeds per square centimeter. For the mathematically inclined, that works out to 196 –392 seeds in a 14 cm x 14 cm plastic container (or 200–400 seeds, to apply the K.I.S.S. rule).
After planting
Keep your seeds warm (20°C – 24°C), wet and in the dark for 1– 3 days. After that, room temperature (18°– 21°C) is perfect. And your greens need lots of light: 12– 16 hours/day! So put them near a window or under artificial lights with a timer.
Microgreens need to be kept constantly damp, but not soaking wet, from seeding until harvest time. A small spray bottle filled with clean warm water will do the trick, but you may have to spray your microgreens two or three times a day to keep up with demand.
Be a cleanliness fanatic. The warm, humid conditions needed to grow microgreens can also favour moulds, so be sure to disinfect your growing area before seeding. A diluted bleach solution (about 5-10%) is fine but remember to rinse your growing containers afterwards to remove any chlorine residues.
Troubleshooting
Poor germination? It’s too cold, too dry or the seeds are old.
Do you see mould growing? Probably too wet or not finicky enough about cleanliness. Toss out that batch and try again.
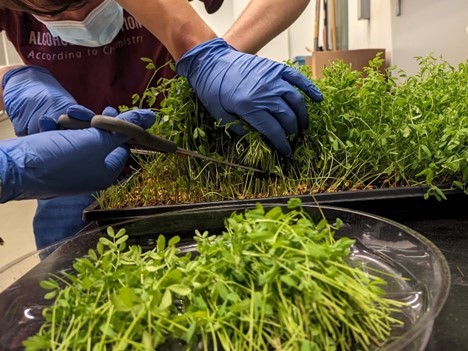
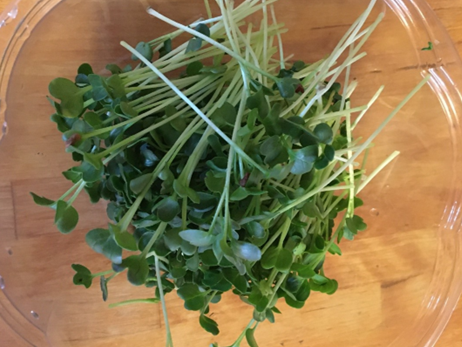
The best part
Microgreens taste best when fresh. Cut them and eat them as soon as they are 3-5 cm tall, usually 2-3 weeks after starting. Bon appétit!
All images by David Wees.